Christmas is my absolute favorite time of the year. Everything is just so cozy and there are always plenty of tasty treats to go around! One of my favorite traditions is making Christmas cookies with my mom. We’ve made the exact same kind for as long as I can remember. I feel like the more traditional types of cookie used for Christmas cookies are sugar cookies, or maybe even gingerbread. But let me ask you something. What one ingredient says “cozy comfort food” more than anything else? Butter. Yep, that’s right, we’re making butter cookies! Sure it sounds kind of weird, but just wait until they’re melting in your mouth before you judge okay?
Perhaps even weirder than cookies that taste like butter, is the way we decorate them. We straight up paint them with colored egg yolks. It’s very old fashioned, very artsy, and it won’t give you salmonella because you paint it on before you bake them. Shall we begin?
First, dissolve 1 teaspoon of baking soda in 1 tablespoon of boiling water. Then, cream that together with 1lb of butter (yeah, you read that correctly), 1 1/2 cups of sugar, and 3 egg yolks, whites separated out and discarded. Gradually add in 4 cups of flour. Once your dough is all mixed together, divide it in half, roll it out with a rolling pin and place between 2 sheets of wax paper and pop it in the fridge over night.
*Tip: roll out each section of dough, fairly thin, and place between 2 pieces of wax paper. Then, instead of putting it in the refrigerator, put it in the freezer overnight. Frozen dough means less crumbs getting all stuck up in your cookie cutters the following day. Trust me, clogged cookie cutters can become a real pain in the ass.
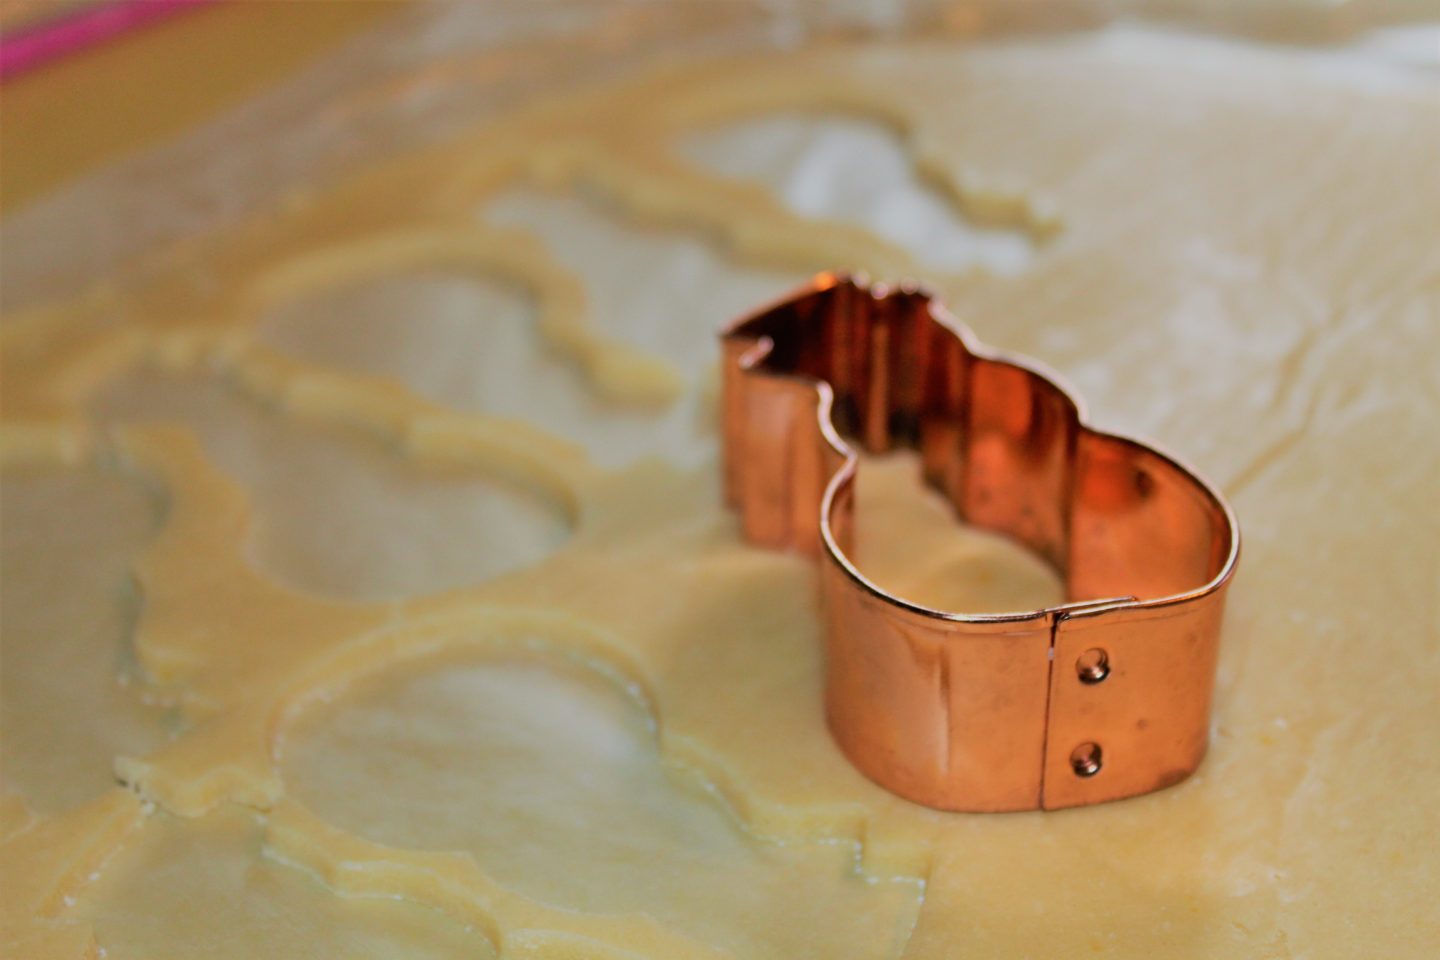
The next day, pick out your favorite cookie cutters and get to work! Once you’ve you worked your way through your pre-rolled dough, collect your scraps and re-roll. You may want to pop it in the freezer for 20 minutes or so. Repeat this process until you’ve used all of your dough. Depending on the size and shape of your cookie cutters, you can easily make 2-4 dozen cookies with this recipe.
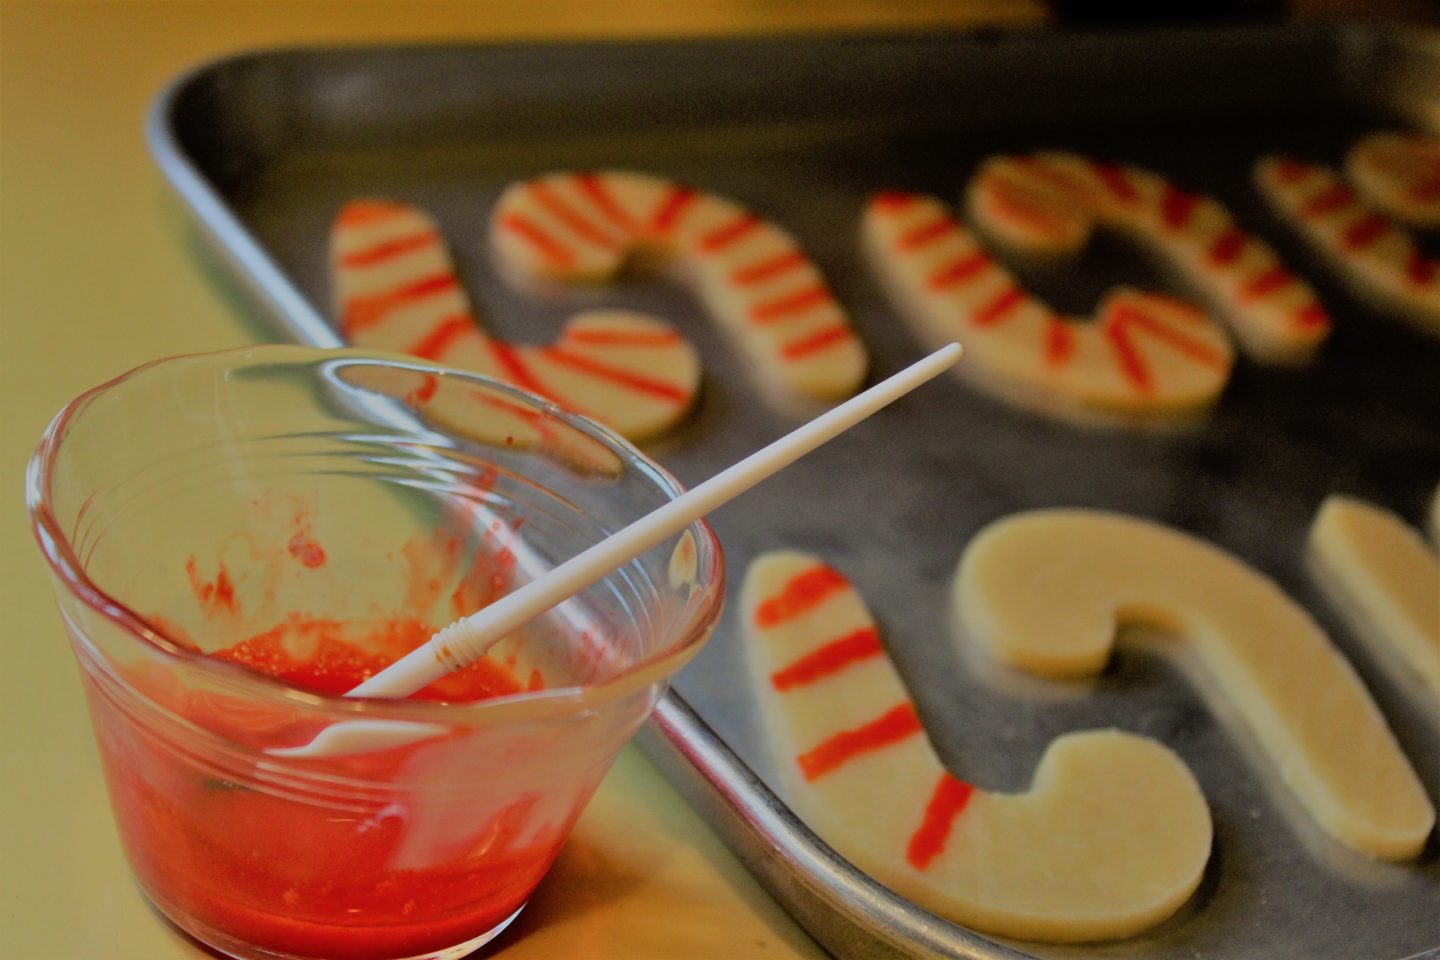
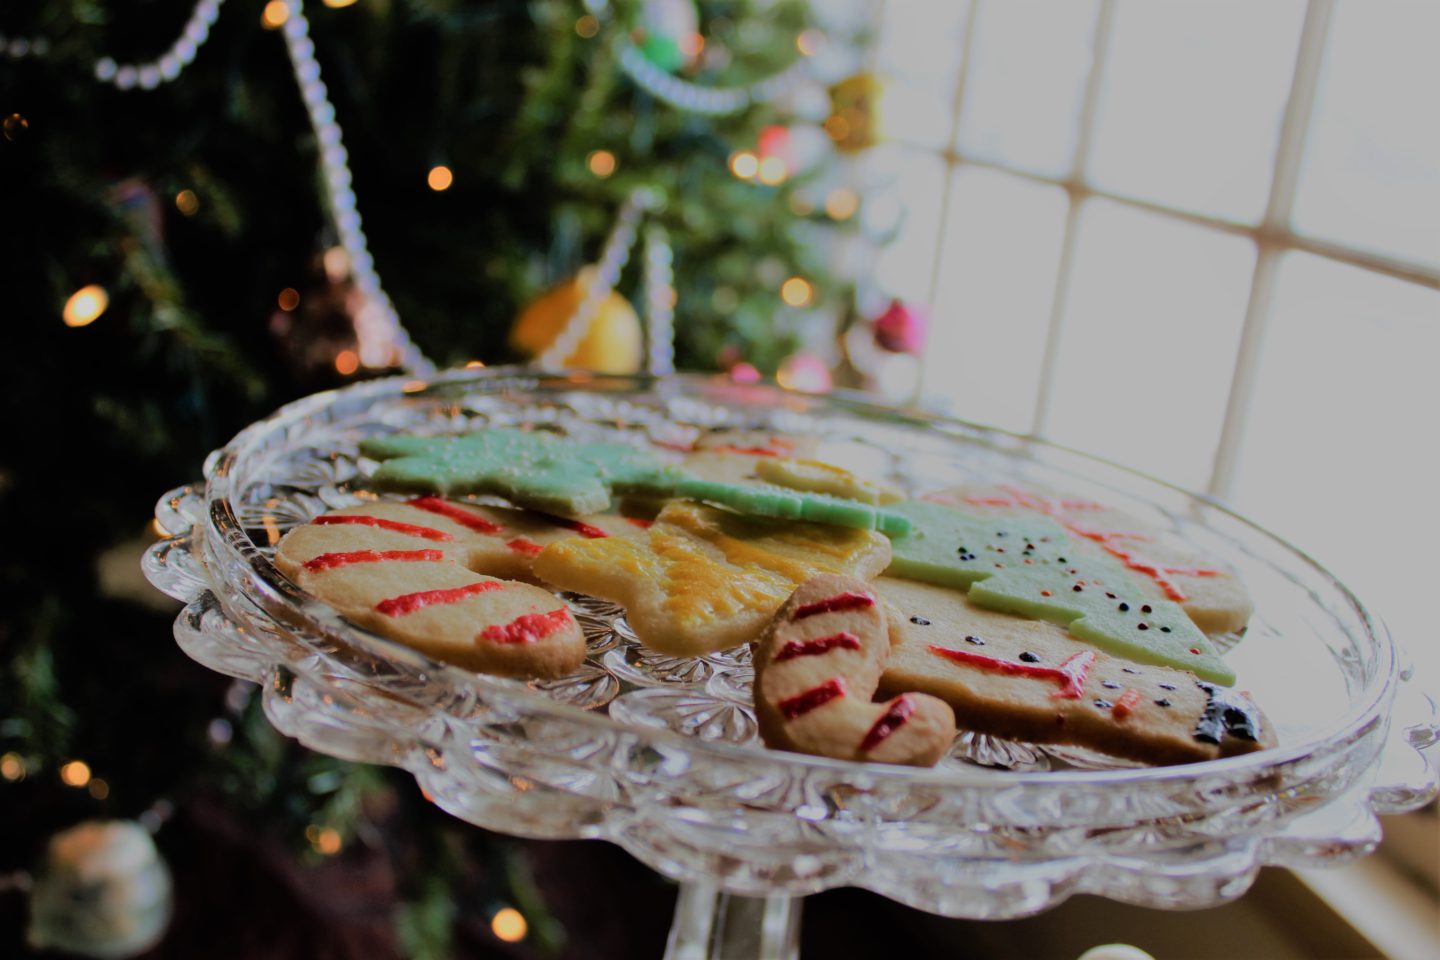
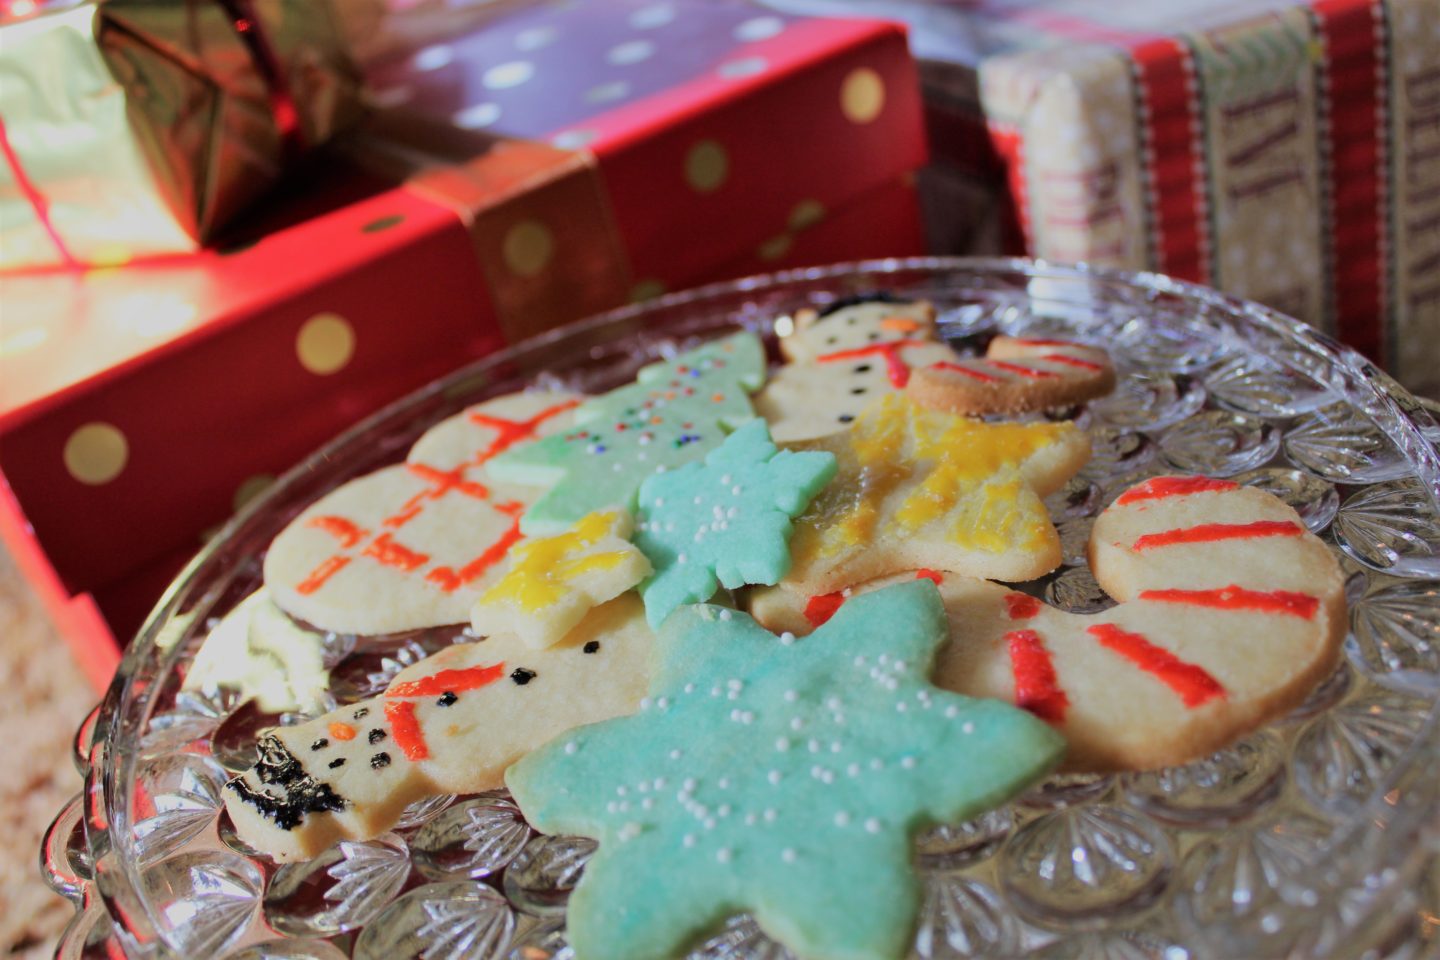
Now comes the fun part, decorating! For the egg paint icing, all you need to do is mix 1 egg yolk with your choice of food coloring and stir together. Of course, you can separate the egg yolk as many times as you like to make multiple colors, or use more than 1 yolk if you feel like you need a lot of paint. The amount of yolk you use, determines how much “paint” you’ll get. Once you have your colors mixed, use a small paint brush to paint the egg yolk onto your cookies. Feel free to also incorporate sprinkles or whatever else you’d like (edible glitter for the win!). You can also add food coloring to your dough if you’d prefer.
After the decorating has come to end, bake in the oven at 375 degrees for 3 to 8 minutes, depending on the thickness of your dough. Or until edges turn a slight golden brown. It’s important to only put cookies of the same thickness in the oven at a time. Each time you roll out the dough, it will be different and may require more or less time in the oven than the previous batch.
Enjoy!
Christmas Butter Cookie Recipe
Butter Cookie Ingredients:
- 1 lb butter
- 1 1/2 cups sugar
- 3 egg yolks
- 1/2 tsp baking soda dissolved in 1 tbsp boiling water
- 4 cups flour
Egg Yolk Icing Ingredients:
- 1 egg yolk
- food coloring
Cream together butter, sugar, egg yolks and baking soda. Gradually add in flour. Divide in half and roll between 2 sheets of wax paper until flat. Place in refrigerator overnight. Slice, decorate, and bake at 375 degrees for 3-8 minutes, depending on thickness. Enjoy!
